Ornaments
Ornaments differ from the other wearable items in two important ways: they do not replace any submesh of the character, and they do not have a slot where they can be equipped. These restrict the things you can use them for, so in general just stick with the same ideas as DS2, i.e extra parts for body armor - shoulder spikes/plates, collars for mage robes, or an archer's quiver.
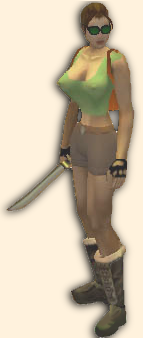
Like the other wearables, they stil must be controlled by the character's bones, so to start making an ornament we need to load the base armor mesh into Siege Max. I'll demonstrate by making the tail for a Bunny costume, which is a texture for type 1 armor, so I load m_c_gah_fg_pos_a1 from the unrigged meshes in the art pack. Although I'm making an ornament for DS2, I can use the DS1 art pack, as the skeleton is the same, and the skinmesh gets removed later.
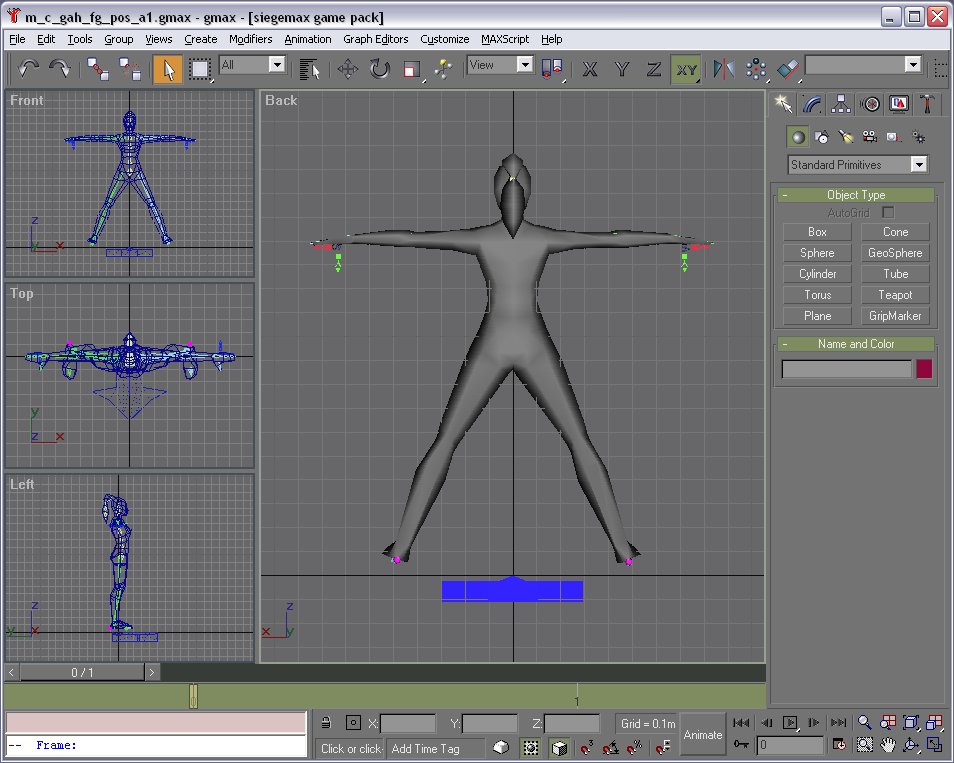 The skinmesh is needed
temporarily to provide location for the ornament.
The skinmesh is needed
temporarily to provide location for the ornament.
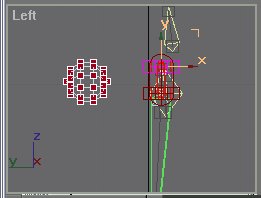
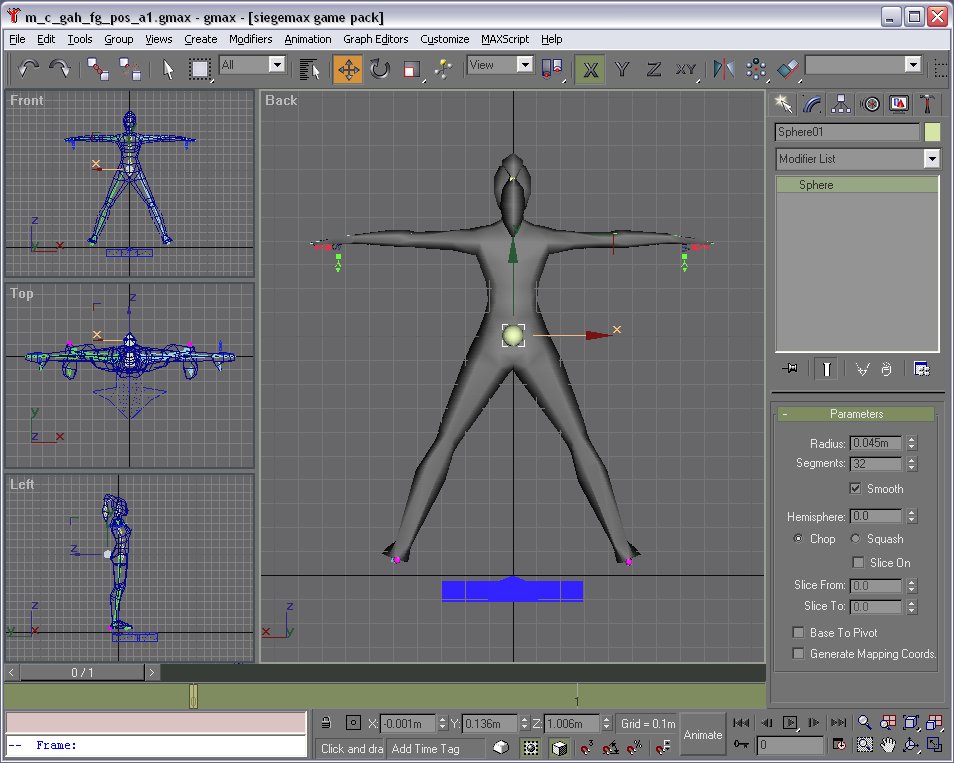 Create a sphere (12
segments is plenty) of the size you want and position it touching the
skinmesh. Add a bitmap texture to it - in this case a plain white.
Create a sphere (12
segments is plenty) of the size you want and position it touching the
skinmesh. Add a bitmap texture to it - in this case a plain white.
 You can now delete the
skinmesh and leave just the skeleton and the sphere. Our next task is to
rename the sphere as either "skinmesh" or "m_c_amr_orn_gah_fa_type01_bunnytail",
which will be the final name of the mesh. It's probably a good idea to
save at this point using that name for the gmax file, so you don't accidentally
overwrite farmgirl.
You can now delete the
skinmesh and leave just the skeleton and the sphere. Our next task is to
rename the sphere as either "skinmesh" or "m_c_amr_orn_gah_fa_type01_bunnytail",
which will be the final name of the mesh. It's probably a good idea to
save at this point using that name for the gmax file, so you don't accidentally
overwrite farmgirl.
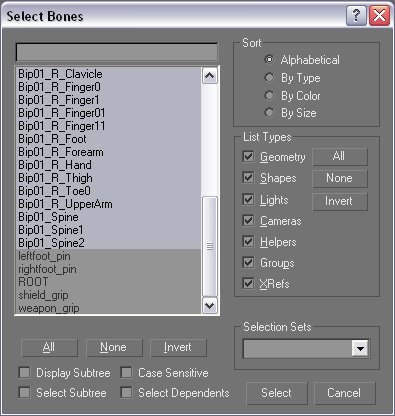 Select the sphere, and add a "Skin" modifier. Click the "Add bones"
button on the rollout. You want to add all the other objects as bones
except the foot pins, ROOT, and weapon and shield grips. The engine
will check the number of bones used for the ornament against the number used
for the base mesh, and they must match.
Select the sphere, and add a "Skin" modifier. Click the "Add bones"
button on the rollout. You want to add all the other objects as bones
except the foot pins, ROOT, and weapon and shield grips. The engine
will check the number of bones used for the ornament against the number used
for the base mesh, and they must match.
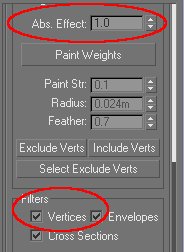 The only bone that will move the sphere is the pelvis, so select that
bone in the list in the rollout, and click "Edit envelopes". Make sure
the Vertices checkbox is checked, and select all the vertices in the sphere
and type in a weight of 1.0. This means that the vertices of the tail will
follow the pelvis bone, and no others. A more complex ornament might have
to flex with the armor, so you have vertex weights for multiple bones, but
this one is much simpler.
The only bone that will move the sphere is the pelvis, so select that
bone in the list in the rollout, and click "Edit envelopes". Make sure
the Vertices checkbox is checked, and select all the vertices in the sphere
and type in a weight of 1.0. This means that the vertices of the tail will
follow the pelvis bone, and no others. A more complex ornament might have
to flex with the armor, so you have vertex weights for multiple bones, but
this one is much simpler.
Almost done! We just need to add an ASP modifier to the stack, so that we can export this as a DS mesh. As a precaution, use the previewer and hit the space bar to make sure the sphere stays floating where it should. If any vertices collapse to the root marker, you missed them when weighting the mesh. If all is well, export the mesh.
To use the ornament, you can include it in either the armor template, if it is to be used by the party members, or in the NPC template if it is specifically for a non-party character. The syntax is slightly different for each.
For an armor, add an [armor_ornaments] section to the [aspect]. You need to provide the full mesh bitmap name, but the mesh name is relative, as the armor can be worn by multiple characters, so you have to supply an ornament for each one - i.e. a female, a male, and a half-giant.
An NPC already has race and gender decided, so there you specify the full name of the ornament mesh. Here are examples from the GPG templates.
[t:template,n:amr_bdy_cmg_sorcerer]
{
   doc = "sorcerer_body";
   specializes = base_body_cmage;

   [aspect]
   {
      material = mediummagiccloth; //jmc_armor (sorceror's robe)
      [armor_ornaments]
	  	{
			*=type05_shoulder_03,b_c_gah_amr_orn_type05_shoulder_003;
		}
   }
. . .

[t:template,n:nen_act1]
{
   category_name =   "act1_npc";
   doc   = "Act 1 Captured dryad: Nen";
   specializes   = base_npc_dd;
   [actor]
   {
      portrait_icon = b_gui_ig_i_ic_c_nen;
   }
   [aspect]
   {
      [ornaments] {* = m_c_gah_amr_orn_fa_type01_shoulder_01;}
      model =   m_c_gah_amr_suit_fa_a1;
      [textures]
      {
         0 =   b_c_gah_dd_skin_02_32_npc;
         1 =   b_c_gah_amr_suit_fa_a1_npc-dd-03-a;
      }
   }
. . .
One thing to note is that although a texture is named with the armor_ornaments component, it is ignored, and the texture saved in the mesh is the one that is used by the game.